Showing posts with label confectionery. Show all posts

Thursday, December 30, 2010

Chocolate Mousse Bites

A couple of weeks ago I made some peppermint patties that, even if I do say so myself, turned out so much better than I thought they would.  So good in fact that I've had requests for more of them!!  So today my little kitchen is back in 'Willie Wonka' mode with chocolate flying in all directions (well, hopefully not, but you get the idea :o)

Aside from the patties though, I thought I'd add another candy.  I want to make up some candy tins for friends so I think having a little mix will be nice.  These bite sized chocolate mousse treats are creamy and similar to milky way bars, not quite as 'airy'; hopefully everyone else will like them, and they're very simple to make.


Chocolate Mousse Bites
64 treats

2 cups semi-sweet dark chocolate chips
2 cups milk chocolate chips
1 Litre tub of frozen Coolwhip, thawed
2 Tbs vegetable oil

  • line an 8-inch square pan with wax paper (higher than the pan for easy removal) and set aside.
  • in a medium bowl melt the 2 cups of dark chocolate chips in a microwave (in 20 second increments, stirring after each one), until smooth.
  • using a hand held electric mixer beat the melted chocolate for about 30 seconds; add the thawed coolwhip and whisk until combined well and fluffy, about 1-2 minutes more.
  • spread the chocolate mixture evenly into the prepared pan and place in a freezer for 45-60 minutes until firmed up slightly.
  • remove the pan from the freezer, lift out the firmed up chocolate 'mousse' using the wax paper, and on a cutting board, cut into one-inch squares and place onto a cutting board or baking sheet lined with more wax paper.  
  • return the squares to the freezer for another 30-40 minutes.
  • just before the end of the second freezing time, melt the 2 cups of milk chocolate chips and vegetable oil in a microwave (20 seconds increments), until smooth.
  • remove the squares from the freezer and using two forks dip each 'mousse' square into the melted chocolate and place onto wax paper until set completely.  Can be placed in the refrigerator to speed up this process.
  • keep in an airtight container in the refrigerator.

 Chocolate Mousse Bites ingredients.

line an 8-inch pan with wax paper - if you cut it long so that it is higher than the sides, it's easier to remove the firm mousse from the pan.

after you melt the chocolate whisk it for about 30 seconds.

add the thawed coolwhip.

doesn't it look pretty as it's blending in :o)

level it off in the pan - it's really sticky at this stage.

once the mousse has been in the freezer (mine was in for just under an hour), cut it into 1-inch squares.  It's still a little sticky so they probably won't come out perfect squares - they'll still taste good though, even if they're a little misshapen :o)

melt the milk chocolate ready to coat the candies.

dip the 'squares' in the milk chocolate and place onto wax paper to dry completely.

mmmmm.....chocolate and more chocolate - it's a shame that my blood sugar rises just looking at them!!!

    Tuesday, December 14, 2010

    Peppermint Patties

    Let us all take a deep breath for a moment.....to get ourselves ready for the over-indulgence of the holiday season!!  These should get you off to a good start if you haven't already :)

    I've always loved peppermint patties (or any variation of chocolate and mint candy).  I can remember as a child my Mum, who was and still is, a huge chocolate addict loving her box of After Eight mints that someone invariably bought her for Christmas.  Unfortunately they're pretty much out of my life now because I'm diabetic. Just the look of the ingredients sitting in the pantry spikes my blood sugar, but saying that I decided that I wanted to try and make some to give away for Christmas treats to friends and family. They're surprisingly easy to make, if a little time consuming, but well worth the effort.


    Peppermint Patties
    makes 50

    4 1/2 - 4 3/4 cups confectioners sugar
    1 can (300ml) condensed milk
    1 Tbs peppermint extract
    2 cups dark chocolate chips
    2 Tbs shortening

    • first of all make sure that you have enough room in your freezer to accommodate a large cutting board or baking sheet - it's easier to sort this out BEFORE you have the patties already on the board and then can't fit them in (as I found out myself!!!).
    • line a large cutting board or baking sheet with waxed paper; set aside.
    • in the bowl of a stand mixer add 3 cups of the sugar, the condensed milk and peppermint extract; blend until combined.
    • gradually add the extra sugar, in 1/2 cup increments until a dough forms in the consistency of modelling clay (I used just over 4 1/2 cups in the end).
    • take pieces of dough and roll between your palms to form balls about the size of a small walnut; place on the wax paper lined cutting board and flatten to form discs no thinner than 1/4 inch thick.
    • place the trays in the freezer and freeze for 1 hour.
    • in a microwavable bowl, melt the chocolate chips (stirring after every 30 second increments), until smooth.
    • add the shortening and stir until mixed in completely.
    • working as quickly as possible, place the frozen discs on the tines of a fork and dip into the melted chocolate to coat.  Scrape the back of the fork against the edge of the bowl to let excess chocolate drain off.
    • place on wax paper and leave to set completely.  They can be put into the refrigerator to set quicker is you just can't wait to taste them!
    • Happy Holidays :)

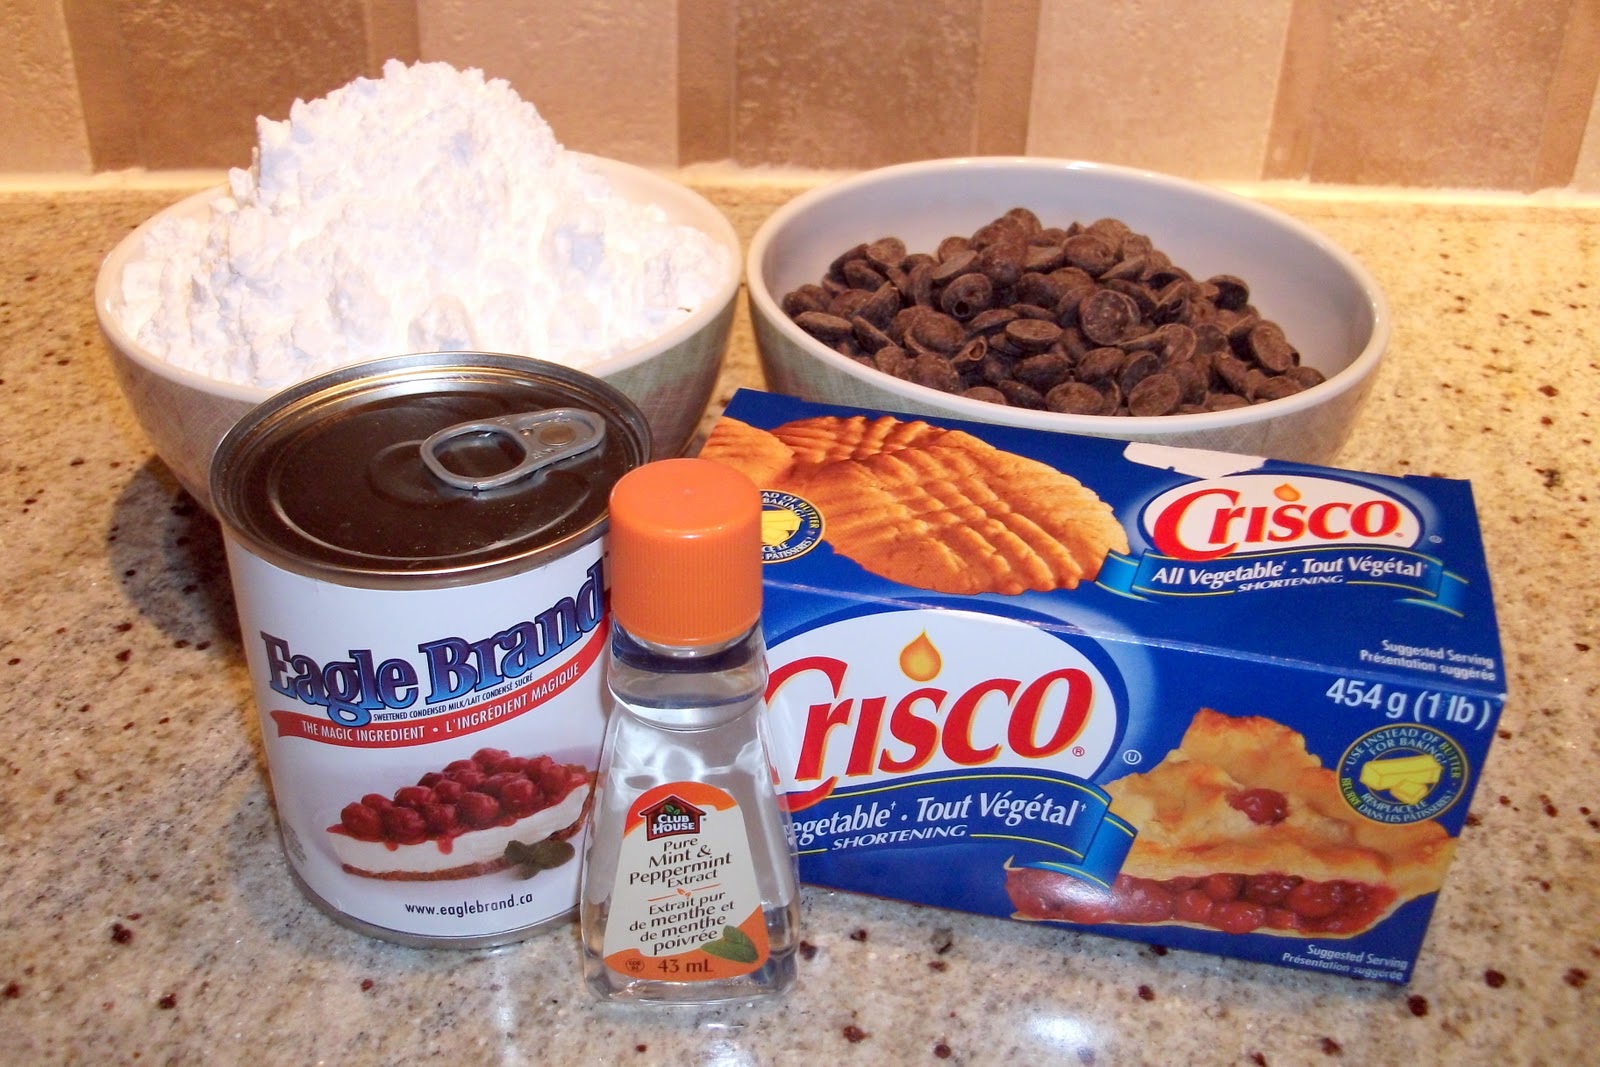
     Peppermint Patties ingredients.

    sweet, sweet and more sweet.

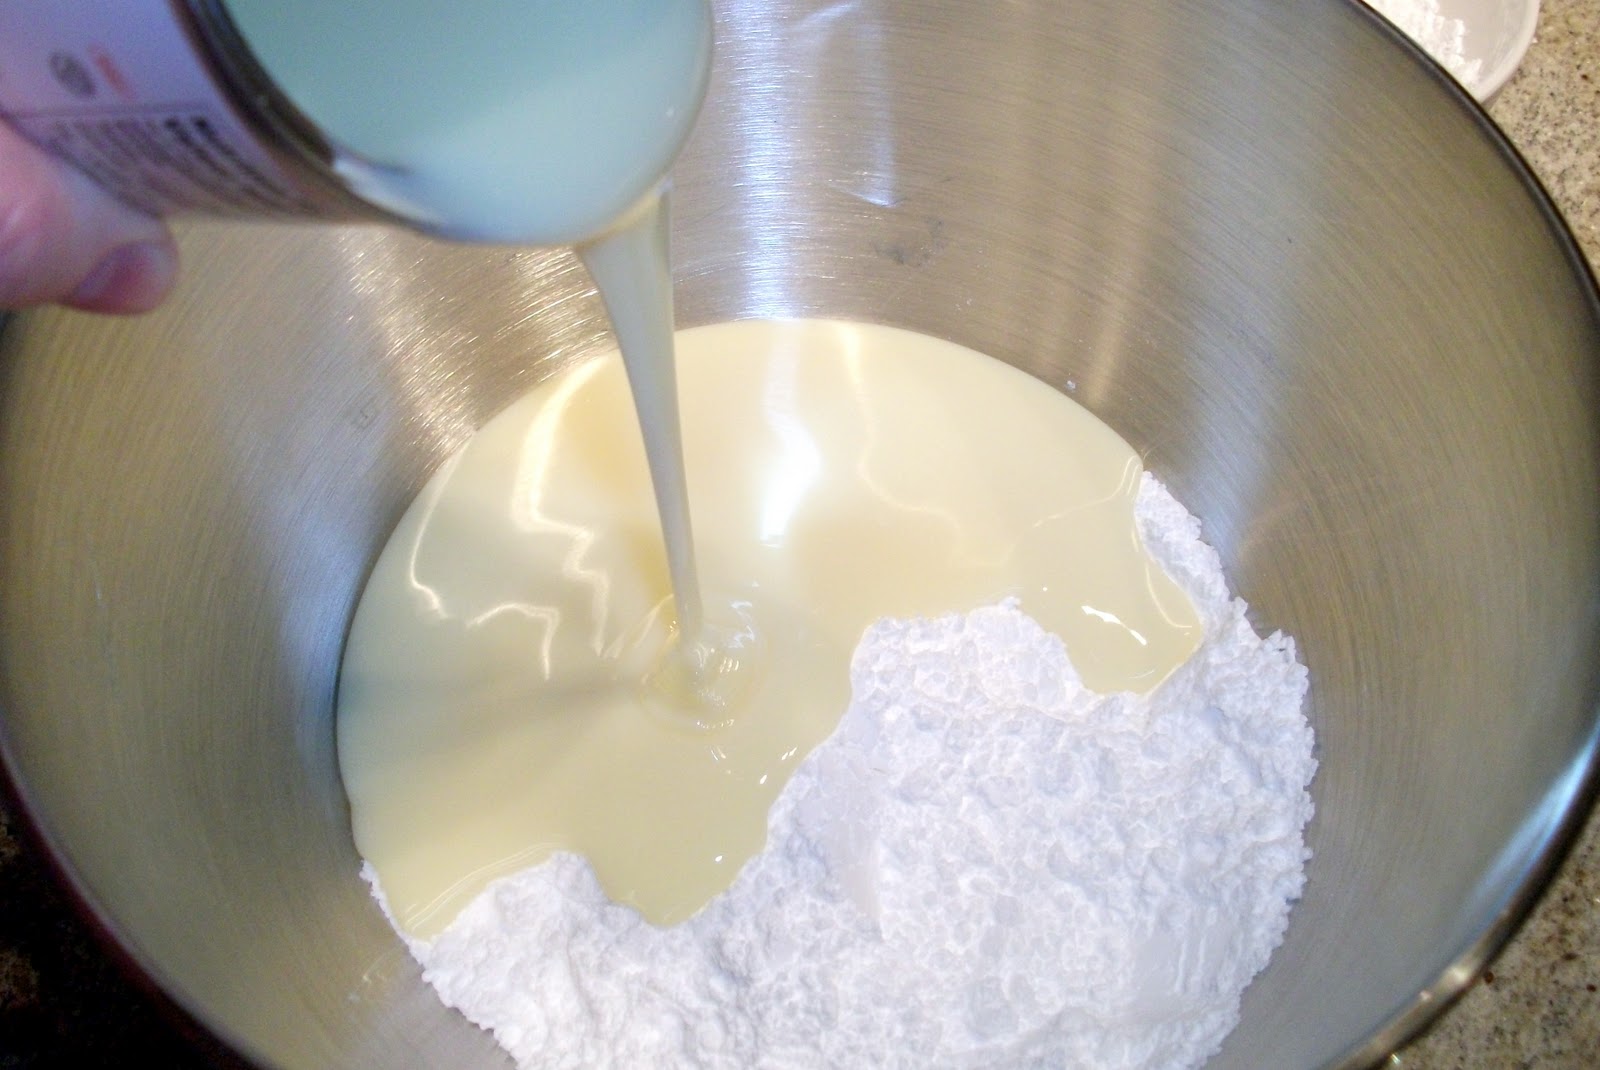
    combine the sugar, condensed milk and peppermint extract until a firm dough.

    form balls the size of small walnuts.

    flatten to make discs.

    it's easier if you cube the shortening, that way it combines quicker once you melt the chocolate chips.

    melt the chocolate in 30 second increments, stirring between each one.

    place the 'sugar' discs on the tines of a fork and dip into the melted chocolate.

    it might not look like it but there is wax paper down that I'm placing them onto :)

    don't they look beautiful :)

    even though I suffered for it later, I had to taste test at least one - that's my excuse and I'm sticking to it !!!

    I had a little of the chocolate left over, so I put some wax paper down and dropped circles of it on there to set - these can then be used any way you like, either broken up in choc chip cookies, or just stick a few into ice cream for a treat.