Showing posts with label cocoa. Show all posts

Saturday, August 27, 2011

Chocolate Zucchini Loaf

One thing that I especially love about this time of year, apart from the warm afternoons lazing on the beach of course, is that a variety of things in our veggie garden are ready for harvesting.  It's been sort of a funny year to be honest, with a lot of cross pollination's going on, so I have weird cucumelons (cucumber / yellow melons) growing and although I have a lot of tomatoes they're taking their own sweet time ripening, but I'm sure it will all come out delicious in the end - it's just one of the fun thing about growing your own produce.

We've had a few carrots from the garden already, and the odd tomato and handful of strawberries but today was the day for the zucchini - and a perfect specimen it was too.  There's another one that's going to be ready any day now, which I'm going to make into some salad or side, but this one already had a reservation on it for some kind of zucchini bread or loaf - and lets be honest, chocolate just about goes with anything :o)


Chocolate Zucchini Loaf
makes 2 loaves

2 1/2 cups all-purpose flour
1/2 cup cocoa powder
1 tsp baking soda
1/2 tsp baking powder
1 tsp salt
1 1/2 cups sugar
3 large eggs
1 cup canola oil
2 tsp vanilla extract
2 cups (packed) zucchini, grated unpeeled
1 cup chocolate chips

  • preheat the oven to 350 degrees F, and line two 9"x5" loaf tins with wax paper.
  • in a large bowl mix together the flour, cocoa, baking soda, baking powder and salt;  set aside.
  • in another large bowl whisk the sugar and eggs together until light and fluffy.
  • to the egg mixture add the canola oil and vanilla extract;  mix well.
  • add the wet mixture to the dry ingredients, along with the zucchini and chocolate chips.
  • mix until just combined and then divide the mixture between the two prepared loaf tins.
  • bake, in the centre of the oven, for 50-60 minutes until the top is cracked and spongy.

 Chocolate Zucchini Loaf ingredients.

line two loaf tins with wax paper.

grate the zucchini until....

....you have a bowlful of greeny goodness.

mix together the flour, cocoa, baking soda, baking powder and salt.
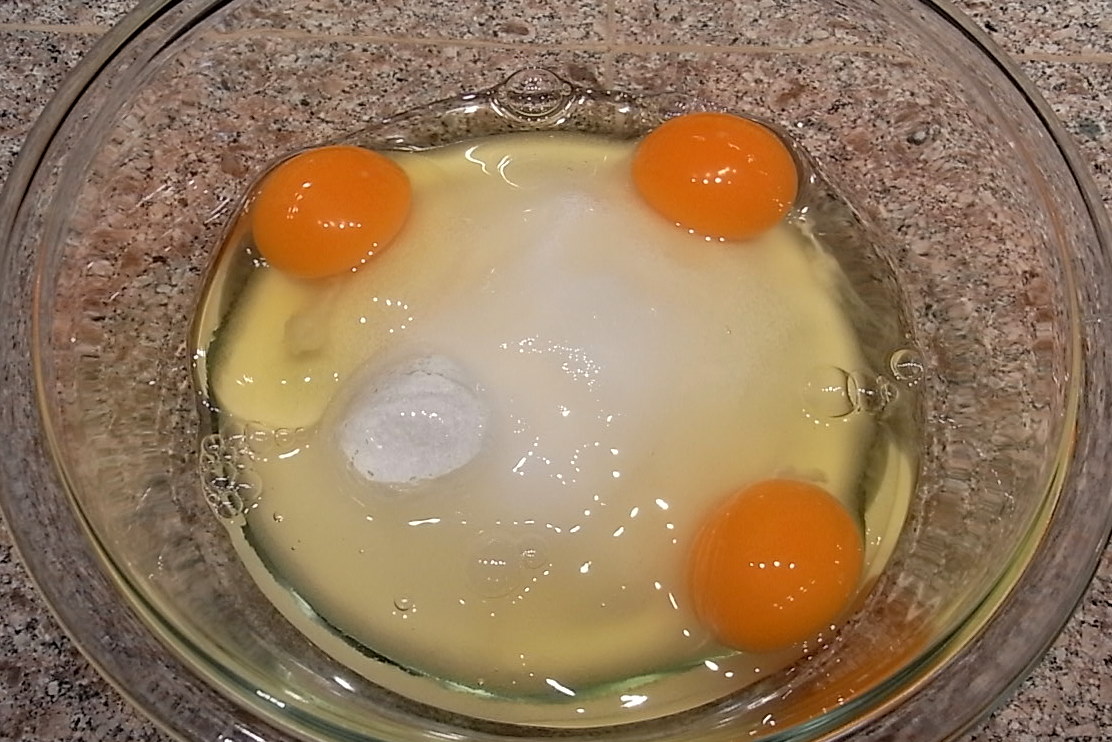
put the sugar and eggs into a large bowl and....

....whisk like mad until light and fluffy - of course you could also use an electric hand mixer or even a stand mixer, but my arms needed the workout :o)

add the oil and vanilla and mix well.

add the wet mixture to the dry along with the zucchini and chocolate chips, and...

...mix until just combined.

divide the mixture evenly between the two loaf tins.

bake until the tops are cracked - these took about 52 minutes.

if you're like me and can't wait until the loaves have cooled down completely you're first slice will be studded with these melty little chocolate 'spots' - yummy!!!


Tuesday, January 11, 2011

Crazy Cake

Have any of you heard of crazy cake?
I'm assuming that it must be a north American thing, because being originally from England I'd never heard of it until I came across it on the Tasty Kitchen website that I like browsing through.  It sounded so simple and I knew that I just had to try it - after all, who can resist finding a sponge cake recipe where it all gets mixed up in the pan you're going to bake it in!!!  Easy kitchen clean up - hooray!! :o)


Crazy Cake
8-10 servings

3 cups all-purpose flour
2 cups sugar
2 tsp baking soda
1 tsp salt
1/3 cup cocoa powder
1 tsp vanilla extract
2 Tbsp white vinegar
3/4 cup vegetable or canola oil
2 cups water
3/4 cup chocolate chips

  • preheat the oven to 350 F.
  • sift the flour, sugar, baking soda, salt and cocoa powder directly into an ungreased 9" x 13" baking pan.
  • make three holes (indents) in the dry mixture (I'm not sure why exactly, I'm assuming just to keep the liquids separate until you blend them - I'm just following the original recipe :o)
  • in one hole pour the vanilla extract, in another the vinegar, and in the last hole pour the oil.
  • then pour the 2 cups of water over the entire mixture.
  • using a fork, blend everything together gently until the mixture is smooth and combined well.
  • sprinkle the chocolate chips evenly over the surface and bake for 40-50 minutes until an inserted toothpick comes out clean.

Crazy Cake ingredients.

sift all the dry ingredients directly into a 9x13 inch baking pan.

make three 'holes' and add the vinegar, oil and vanilla (the sides of my holes weren't high enough so it all started to mix together early - not that I think it made any difference!! :o)

pour the 2 cups of water over everything and mix gently with a fork until well blended.

once it's blended, sprinkle the chocolate chips evenly over the surface (looks yummy already doesn't it?) - of course, the only disadvantage of mixing everything in the same pan that you're going to bake it in, is that you don't have the mixing bowl to lick!!! :o)

it comes out fluffy and chocolaty and the kitchen smells divine.

slightly crunchy sides and top and moist fluffy sponge - it's 'crazy' good....

Sunday, November 28, 2010

Chocolate Chip Meringues

I'm figuring with the holiday season barrelling towards us at a break neck speed, there are about to be copious amounts of scrumptious treats due to be coming out of my kitchen.  Undoubtedly, a good portion of those, although good for our taste buds, they might not be so good for our waistlines - what can I say....Christmas comes but once a year :o)

So, even though I had a hankering to make something chocolatey today, I opted for something low in fat, in the spirit of 'under-indulgence'.....for now anyway!!!


Chocolate Chip Meringues
makes 15-25 cookies (depending on size)

2 egg whites
1/8 tsp cream of tartar
1/3 cup sugar
1 tsp vanilla extract
1 Tbs cocoa powder
1/2 cup chocolate chips

  • preheat the oven to 250 F, and cover two cookies sheets with foil or parchment paper.
  • in a clean metal or glass bowl whisk the egg whites and cream of tartar with a hand or stand mixer, until soft peaks.
  • gradually add in the sugar, while whisking, until the mixture forms stiff peaks.
  • mix in vanilla and cocoa powder on low speed.
  • fold in chocolate chips by hand.
  • drop heaped teaspoon size mounds onto the prepared cookie sheets about 2 inches apart.
  • bake for 1 hour; turn off oven heat and leave the sheets in the oven for another hour.
  • store in an airtight container.

 Chocolate Chip Meringue ingredients.

whisk the egg whites and cream of tartar - it doesn't take long to go from this, frothy, stage to soft peaks.

you can sift the cocoa if you want, but I didn't bother, and they came out fine.

I opted for the foil today, and they peel off pretty easily as long as you go careful.

these are great on their own for a little chocolate 'fix', but they'd also be wonderful popped into the top of a decedent chocolate mousse.

because of the slow, low cooking the chocolate chips keep their shapes pretty well.

    Sunday, October 31, 2010

    Halloween 'Skeleton' Sugar Cookies

    Happy Halloween!!

    What better opportunity to practice my piping skills (which are very rarely used), than making little one-bite cocoa 'skeleton' sugar cookies.  I wanted to make cocoa cookies so that the white 'bone' icing would show up better and originally I had the thought of making bigger 'people', but unfortunately when I searched through my cookie cutter collection the only one I could find was a small 1.5 inch size in a tin with other miniature Christmas cutters.  It works out really well though, because this way they're just the right size for little kids - okay, and big kids too!!


    Cocoa Sugar Cookies
    quantity depends entirely on size of cutter - I got around 120 cookies from a 1.5 inch cutter

    2 3/4 cups flour
    3/4 cup cocoa powder
    1/2 tsp salt
    1 tsp baking powder
    1 cup butter (room temp)
    1 3/4 cup granulated sugar
    2 large eggs
    2 tsp vanilla extract
    • in a medium bowl, mix the flour, cocoa powder, salt and baking powder.
    • in a stand mixer, beat the butter and sugar for about 3-4 minutes.
    • add the eggs, one at a time, to the butter mixture.  Add the vanilla and combine well.
    • add the flour mixture and blend until a smooth dough.
    • divide the dough in half, wrap in plastic and refrigerate for at least an hour.
    • when you're ready to bake the cookies, preheat the oven to 325 F, and position rack in the middle of the oven.
    • line 2 cookie trays with parchment paper.
    • roll half of the dough to 1/4 inch thickness on a floured surface, rotating the dough often to stop it from sticking.
    • cut out desired shapes, and transfer to the cookie trays.  The scraps of dough can be re-rolled a second time to make more cookies.
    • put the cookie trays into the refrigerator for 10-15 minutes to firm up slightly. This will stop the cookies from spreading while they bake.
    • bake for 10-12 minutes (depending on size). Cool on trays for a couple of minutes, and transfer to cooling racks.
    • repeat with the second half of the dough.
    • once cookies are completely cooled, pipe desire design onto each.


    Icing for piping
    this will give you around 1 1/5 cups of icing

    1 large egg white
    1 tsp lemon juice
    2 cups icing sugar
    • beat together the egg white and lemon juice just until beginning to froth.
    • add the icing sugar and mix to a stiff, peaked consistency.
    • either use a small piping bag and nozzle if you have one, or just as good is a small zip-loc bag with a small hole cut from one corner (make sure you don't cut the whole too big though :).
    • pipe away!!!

     here come the cookies!!

    you can sift the dry ingredients if you want, but I didn't and they came out fine.

    flatten the dough into discs and they'll be easier to roll when they firm up.

     the dough can be quite fragile so work gently with it.

    ready to be baked.

    they kept their shape really well because of the firming up in the fridge beforehand.

    let them cool completely before you pipe the icing.

    mix the icing ingredients until stiff and shiny.

    they were so tiny that I couldn't get too elaborate with the design.

    Boo!!!